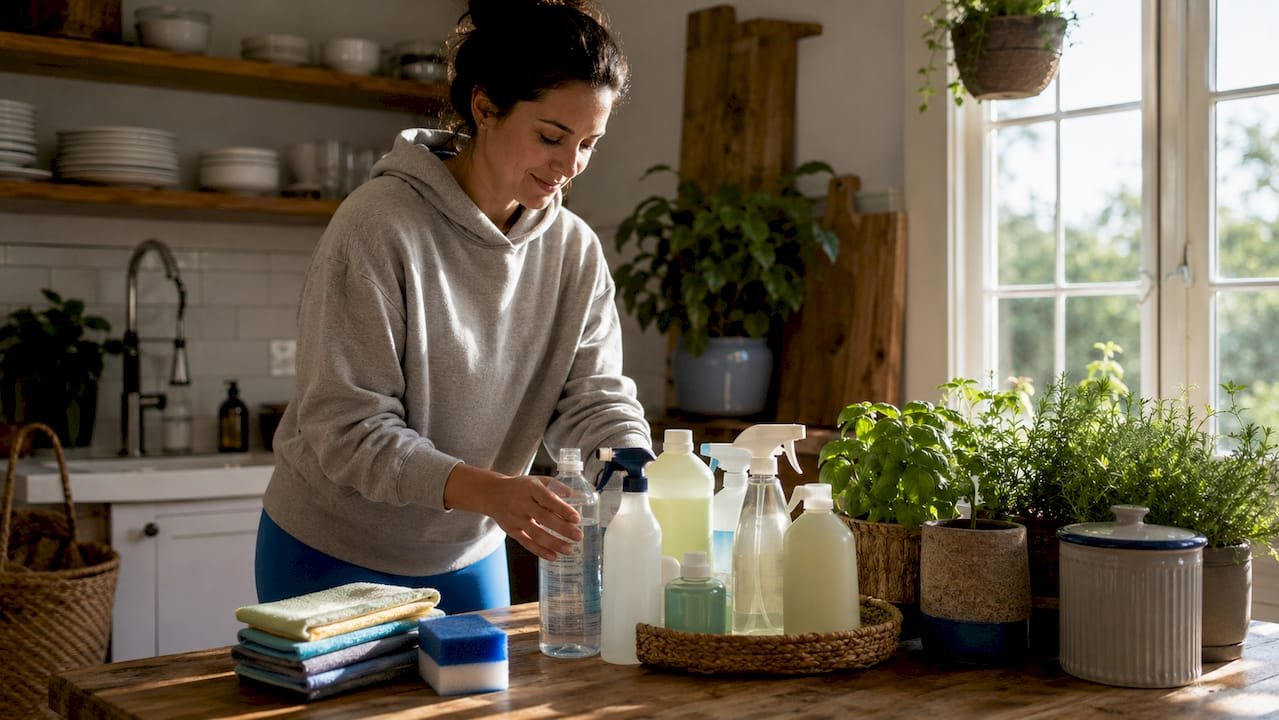
Improving cleaning results is defined as getting more cleanliness from less effort by following a proven sequence, using the right tools, and letting products do their job. Most homeowners clean hard but clean wrong. The fix is not more products or more time. The fix is better technique. Methods like the top-to-bottom sequence, dwell time application, and zone cleaning are the core building blocks of professional-grade home cleaning. Adopt these ways to improve cleaning results and you will spend less time scrubbing and more time enjoying a genuinely clean home.
1. Ways to improve cleaning results: start with the right sequence
Dusting can be included for accessible surfaces in the agreed rooms. Point out delicate items, shelves that should be left alone and any areas that need additional attention.
Dusting can be included for accessible surfaces in the agreed rooms. Point out delicate items, shelves that should be left alone and any areas that need additional attention.
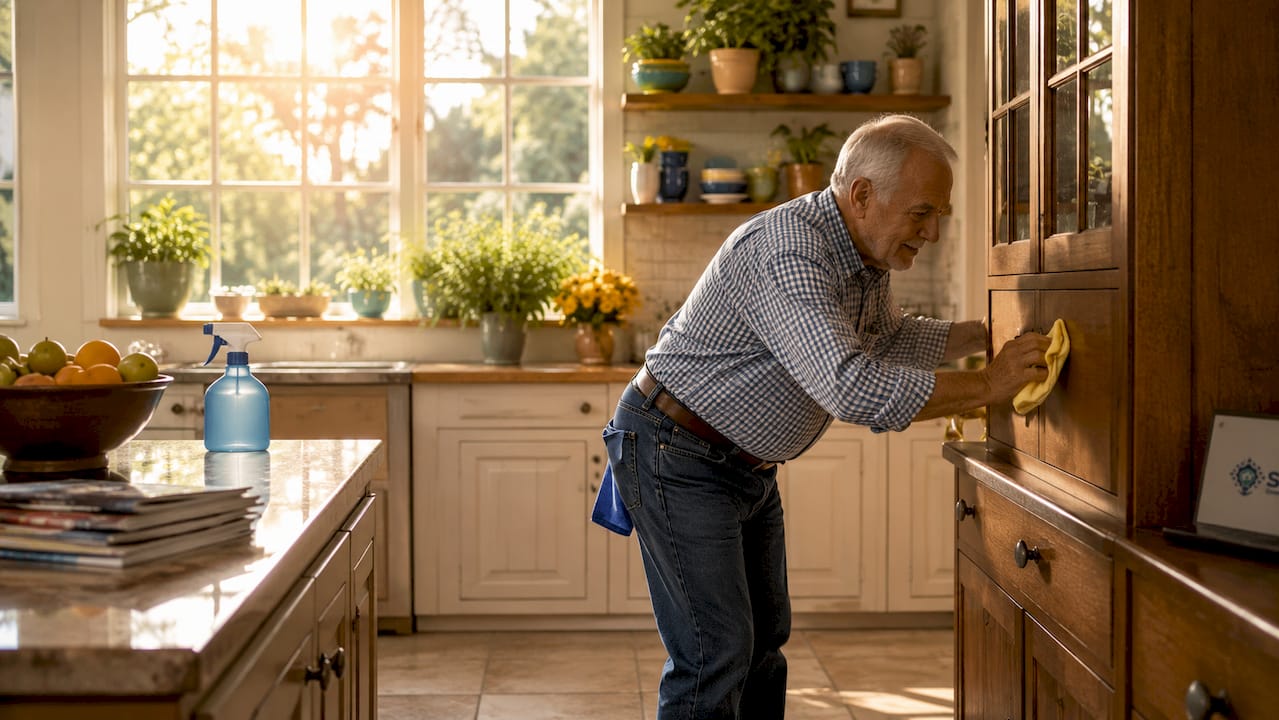
Pro Tip: Work clockwise around each room so you never skip a surface. Start at the door, move right, and finish where you began.
2. Use dwell time to cut scrubbing in half
Dwell time is the period you let a cleaning product sit on a surface before wiping or scrubbing. Most homeowners spray and wipe immediately. That wastes the product and doubles the physical effort required. Dwell time allows cleaning agents to break down grime chemically, so you lift dirt rather than grind it off.
Discuss the bathroom surfaces and fixtures that need attention. Tell the office about buildup, delicate finishes or maintenance issues before scheduling.
Pro Tip: Spray bathrooms and kitchens first, then move to dusting other rooms. By the time you return, the dwell time has done its work.
3. Switch to zone cleaning over task-based cleaning
Task-based cleaning means doing all the dusting in the house, then all the vacuuming, then all the mopping. Zone cleaning means finishing every task in one room before moving to the next. Zone cleaning reduces tool switching, keeps your focus sharp, and makes it nearly impossible to miss a surface.
The practical difference is significant. When you carry all your supplies into one room and work through it completely, you build a rhythm. You also avoid the frustration of walking back across the house for a forgotten tool. A room-by-room checklist makes zone cleaning even easier by giving you a clear finish line for each space.
- Gather all supplies before entering the room.
- Dust from top to bottom, including light fixtures and baseboards.
- Wipe all hard surfaces with the appropriate cleaner.
- Clean glass and mirrors last in the dry phase.
- Vacuum or mop floors as the final step.
- Move to the next room only when the current one is complete.
Planning the Cleaning Scope
List the rooms and accessible surfaces you want cleaned before requesting an estimate. The work completed depends on the agreed priorities, property condition and time used.
The clockwise method works because it turns an abstract space into a defined path. You start at one fixed point, usually the door, and move in one direction without backtracking. Every wall, corner, and surface gets addressed in sequence. Combined with zone cleaning, this approach makes thoroughness automatic rather than effortful.
5. Choose the right tools and stop overbuying products
Homes need better technique and a few trusted products, not a cabinet full of specialty cleaners. Most homeowners mistake poor results for a product problem when the real issue is technique. A streamlined kit of multipurpose cleaners reduces confusion and keeps your process consistent.
The core tools that professional cleaners rely on are:
- Microfiber cloths: Microfiber traps dust better than cotton rags, absorbs more liquid, and leaves fewer streaks. Use separate cloths for bathrooms and kitchens to avoid cross-contamination.
- Melamine sponges: These remove scuff marks, soap scum, and hard water stains from most surfaces without chemicals.
- A quality squeegee: Fast, effective on glass and tile, and cheap to replace.
- A flat mop with washable pads: More hygienic than string mops and easier to control on hard floors.
Discuss floor vacuuming and mopping as part of the visit. Tell the office about the floor material and any manufacturer-specific care instructions.
Pro Tip: Check the must-have cleaning equipment list before buying anything new. You likely already own most of what you need.
6. Match your cleaner to the surface
Using the wrong cleaner on a surface is one of the most common cleaning mistakes. Acidic cleaners like white vinegar work well on mineral deposits and hard water stains but will damage natural stone like marble or granite. Alkaline cleaners cut grease effectively on stovetops but can dull certain finishes over time.
Follow the product label and the surface manufacturer’s care instructions. Do not mix cleaning products. Discuss any specific product request before a professional visit.
A simple rule: use a pH-neutral cleaner as your default for most surfaces, and reach for specialty products only when the job demands it. This approach keeps your kit small and your results consistent.
7. Build daily habits that prevent buildup
The best cleaning hack is not a product or a technique. It is consistency. Small daily actions prevent the kind of buildup that turns a 20-minute clean into a two-hour scrubbing session.
Smart Cleaning Service is licensed, insured and BBB accredited. Service requirements should be reviewed with the office before booking. Insurance coverage depends on the policy and the circumstances of a claim.
Key daily habits that deliver the highest return:
- Squeegee shower walls and glass after every use.
- Wipe the stovetop after cooking while it is still warm.
- Run a dry microfiber cloth over bathroom counters each morning.
- Air out rooms daily to reduce moisture and slow mold growth.
- Do a 5-minute tidy of high-traffic areas before bed.
8. Use the 20-minute rule for consistent upkeep
The 20-minute cleaning rule means dedicating a focused 20-minute session to one room or task each day. Short, concentrated sessions prevent the mental weight of a whole-house clean from building up. They also keep your home at a baseline level of cleanliness that makes deeper cleans faster and less frequent.
The key is focus. Set a timer, pick one room or one category of task, and work without distraction until the timer stops. You will be surprised how much ground you cover in 20 minutes when you are not multitasking or wandering between rooms. This method pairs naturally with zone cleaning and the clockwise flow technique.
9. Dust correctly before you vacuum
Most homeowners vacuum first and dust second. That is the wrong order. Dusting knocks particles off surfaces and onto the floor. If you vacuum first, you will need to vacuum again after dusting. Always dust before you vacuum, and always vacuum before you mop.
For dusting technique, use a room-by-room approach that starts at ceiling height and works down to baseboards. Microfiber dusting cloths trap particles rather than redistributing them in the air. Feather dusters and dry rags simply move dust from one surface to another.
Dusting can be included for accessible surfaces in the agreed rooms. Point out delicate items, shelves that should be left alone and any areas that need additional attention.
10. Follow a professional workflow for deep cleans
A professional cleaning workflow applies all of the above techniques in a structured sequence that covers every surface without redundancy. Professionals do not improvise. They follow a repeatable process that produces consistent results regardless of how tired or distracted they feel.
The core structure is: declutter first, then dust top to bottom, then apply cleaners with dwell time, then wipe and scrub, then vacuum, then mop. Every room follows the same sequence. Every session ends with a final walk-through using the clockwise method to catch anything missed.
Adopting this workflow at home removes the guesswork from cleaning. You stop asking “what should I clean next?” and start executing a process that handles the thinking for you. That shift from reactive to systematic cleaning is where most of the efficiency gains come from.
Key Takeaways
The most effective way to improve cleaning results is to follow a fixed sequence: top-to-bottom, dry-before-wet, zone by zone, with proper dwell time and the right tools.
| Point | Details |
|---|---|
| Clean in sequence | Depends on the agreed scope |
| Use dwell time | Let cleaners sit 5 to 15 minutes before scrubbing to break down grime without extra effort. |
| Zone over task-based | Finish every task in one room before moving on to reduce switching and missed spots. |
| Work clockwise | Confirm the scope before booking |
| Daily habits win | Small consistent actions like squeegeeing showers prevent the buildup that causes long deep cleans. |
Practical considerations for your cleaning plan
Most cleaning frustration comes from effort without structure. The problem is never the product. The problem is always the process.
The biggest mindset shift is accepting that cleaning is a physical skill, not just a chore. Skills have technique. Technique can be learned and improved. Once you stop treating cleaning as something you just do and start treating it as something you do correctly, the results change fast.
Skipping dwell time is the most common mistake I see. People spray a surface and wipe it in the same motion. That is not cleaning. That is rearranging dirt. Give your products 5 minutes to work and you will cut your scrubbing effort in half. That one change alone is worth more than any expensive cleaner on the market.
The second mistake is scattered effort. Cleaning a little bit of everything and finishing nothing leaves a home that feels perpetually messy. Zone cleaning fixes this completely. Finish one room. Walk out. That sense of completion builds momentum and makes the next room easier to start.
Working smarter here is not a cliché. It is the literal difference between a clean home and a home that looks like it was cleaned.
Professional cleaning that applies every one of these methods
Knowing the right techniques and having time to apply them consistently are two different things. Smartcleaningwa builds every service around the same methods covered here: top-to-bottom sequencing, proper dwell times, zone-based workflows, and professional-grade tools.
Smartcleaningwa serves homeowners and renters across Seattle, Kirkland, Bellevue, and Redmond with recurring house cleaning, deep cleaning, and move-in and move-out services. Every visit follows a structured process designed to deliver consistent, thorough results. If you want a spotless home in Seattle without spending your weekend cleaning it, Smartcleaningwa is the practical next step. You can also request a free estimate to see what professional cleaning costs for your space.
FAQ
What is the most effective cleaning sequence for a home?
The cleaning plan should identify the rooms, tasks and priorities for your visit. Tell the office about access restrictions, delicate surfaces or areas that should be left alone.
How long should I let cleaning products sit before wiping?
Discuss the bathroom surfaces and fixtures that need attention. Tell the office about buildup, delicate finishes or maintenance issues before scheduling.
What is zone cleaning and why does it work better?
Zone cleaning means completing every task in one room before moving to the next. It reduces tool switching, improves focus, and makes it much harder to miss surfaces compared to task-based cleaning.
Which cleaning tools deliver the best results?
Microfiber cloths, melamine sponges, a quality squeegee, and a flat mop with washable pads cover most household cleaning needs. Microfiber cloths trap dust better and leave fewer streaks than traditional rags.
How do I keep my home clean without spending hours each week?
Use the 20-minute rule: one focused session per day on one room or task. Pair it with daily habits like squeegeeing showers and wiping the stovetop after cooking to prevent buildup between deeper cleans.
Recommended
- For routine home cleaning, discuss dusting, floor care, kitchen surfaces and bathroom tasks. Detailed or additional work should be agreed before the appointment. Related reading: Routine Cleaning Tasks and Priorities.
- Smart Cleaning Service™ House Cleaning Seattle Kirkland Bellevue Redmond
- Smart Cleaning Service™ House Cleaning Seattle Kirkland Bellevue Redmond
- Smart Cleaning Service™ House Cleaning Seattle Kirkland Bellevue Redmond